Matcha Power Cookies {Vegan + Gluten Free}

image

This 20 minute, 1 bowl cookie is, without a doubt, my favourite cookie recipe.

These matcha power cookies are irresistible! They’re…

super filling

energy-boosting

hearty

delicious

healthy

vegan

gluten free

refined sugar free

easy to customize

and loaded with goodies that pack a protein and energy punch.

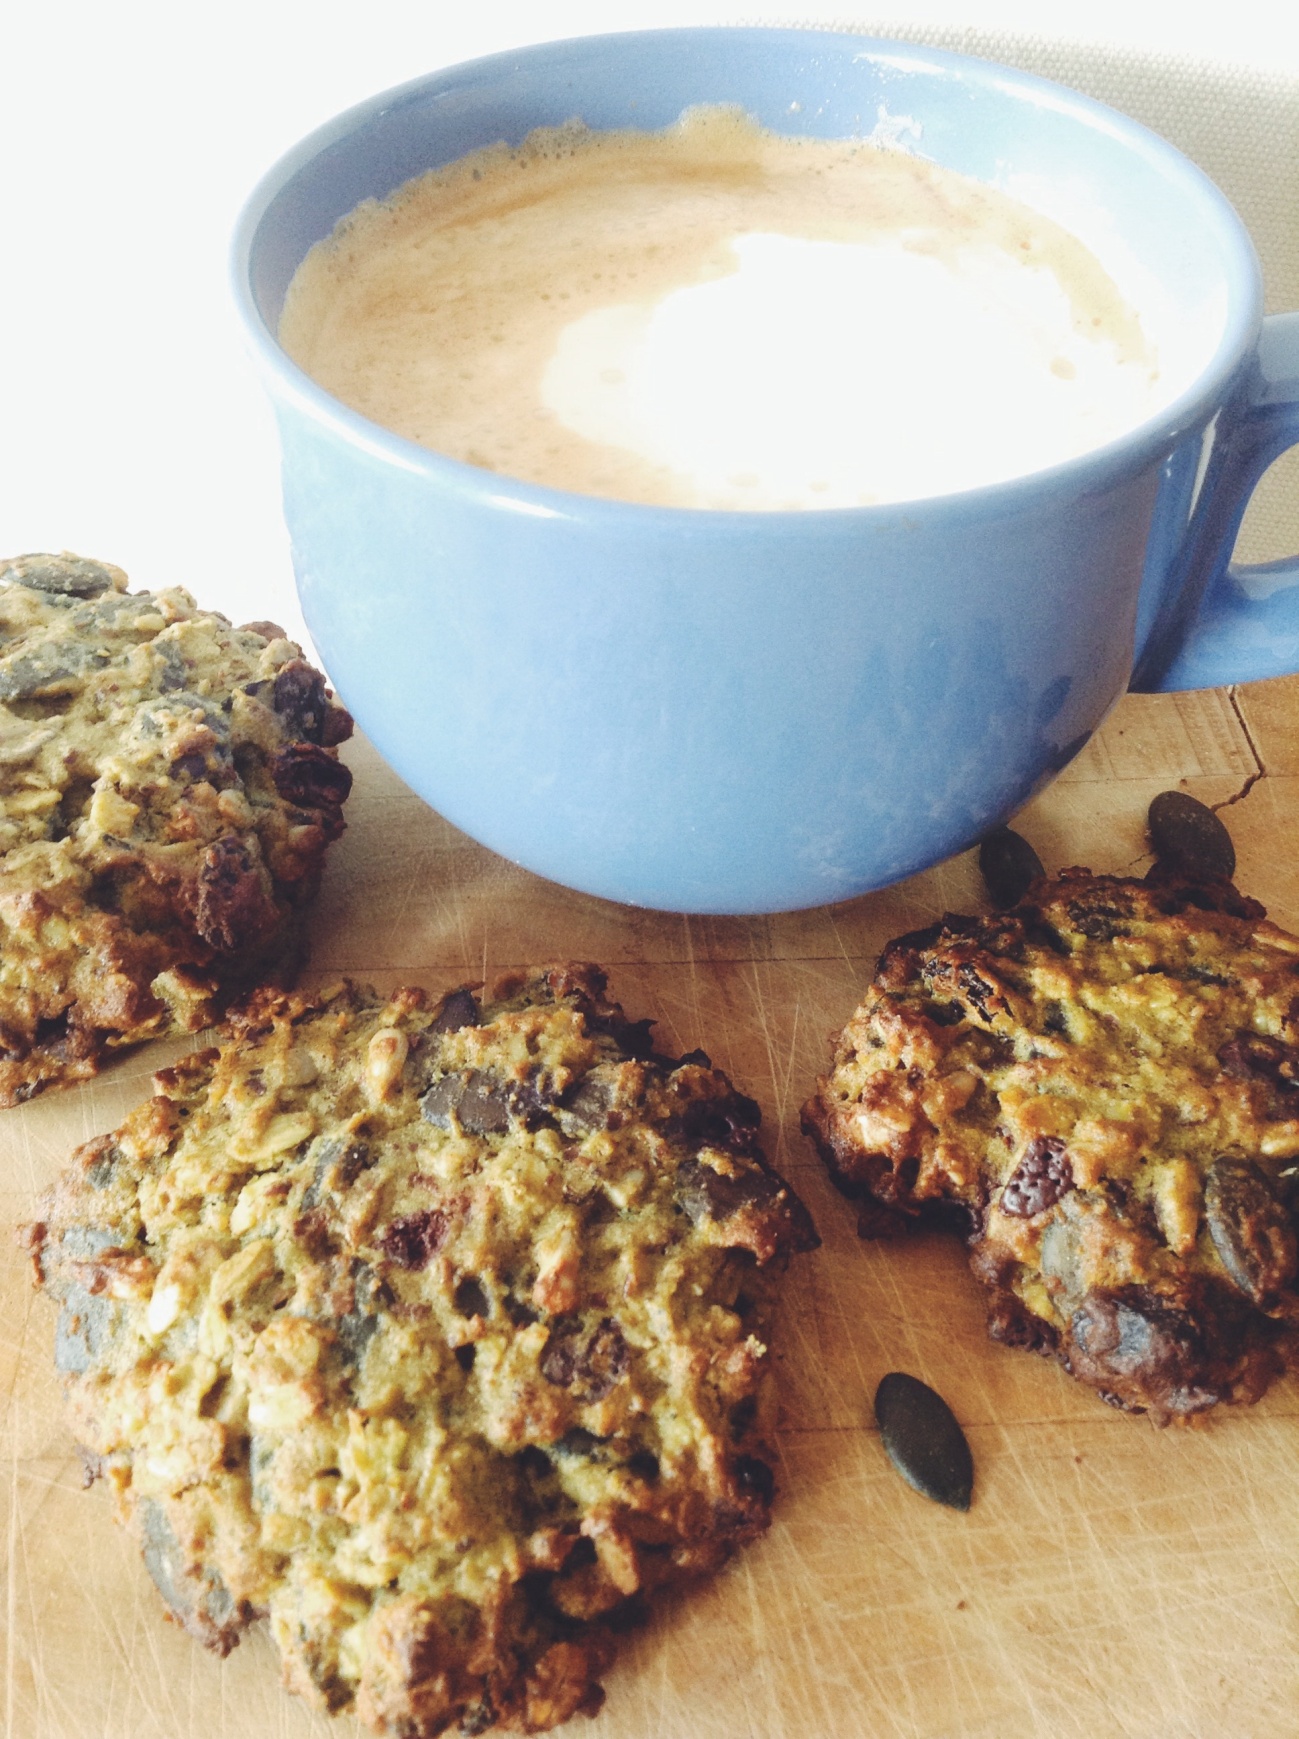
Each cookie is full of pumpkin seeds, sunflower seeds, flax seeds, raisins, walnuts, chocolate chips, and matcha. They’re great before or during a workout, to pack in your bag for picnics and hikes or just to tide you over in the mid morning or afternoon. They’re just sweet enough, chewy, crunchy, earthy, and have a subtle hint of matcha.

imageimage

Over the last few months I’ve been chatting with Cecilia Iliesiu (author of the blog Zest to Dream). She was doing a 60 day vegan challenge, so we chatted a lot about food and exercise. We both have active lifestyles and we both love matcha, so we decided to try and test some recipes for power snacks which include matcha – the idea being to have something hearty that would wake you up and give you energy and fuel for a workout. This cookie recipe is the result of a lot of overseas emails and shared ideas! Since I made these cookies for the first time a few months ago I’ve been making them almost every week and can’t get enough!

They’re so much fun to play around with too. You can change up the add-ins and add anything you’d like! And these cookies are all about the add-ins. The flour that you use only plays a small part and pretty much any flour will work! In my first batch I used a mixture of buckwheat flour, chickpea flour and ground almonds, but since then I’ve also tried it using all buckwheat flour, all quinoa flour and various other mixtures including oat flour and millet flour. Cecilia has also tried them with all purpose flour and almond flour and had success with both of those as well! So i’m guessing that any flour or flour mixture you have on hand will work.

imageimage

Besides being so good for you, these cookies are super easy to whip up!  All you need is 1 bowl, 1 spoon, a mixer or blender and 20 minutes time. Then you’re good to go.  You start by mixing together the dry ingredients including all your add-ins. Then blend up up the wet, stir them together and blob onto a cookie tray. Then let the oven do it’s work and you’ll have warm, steamy, fresh-from-the-oven cookies in no time.
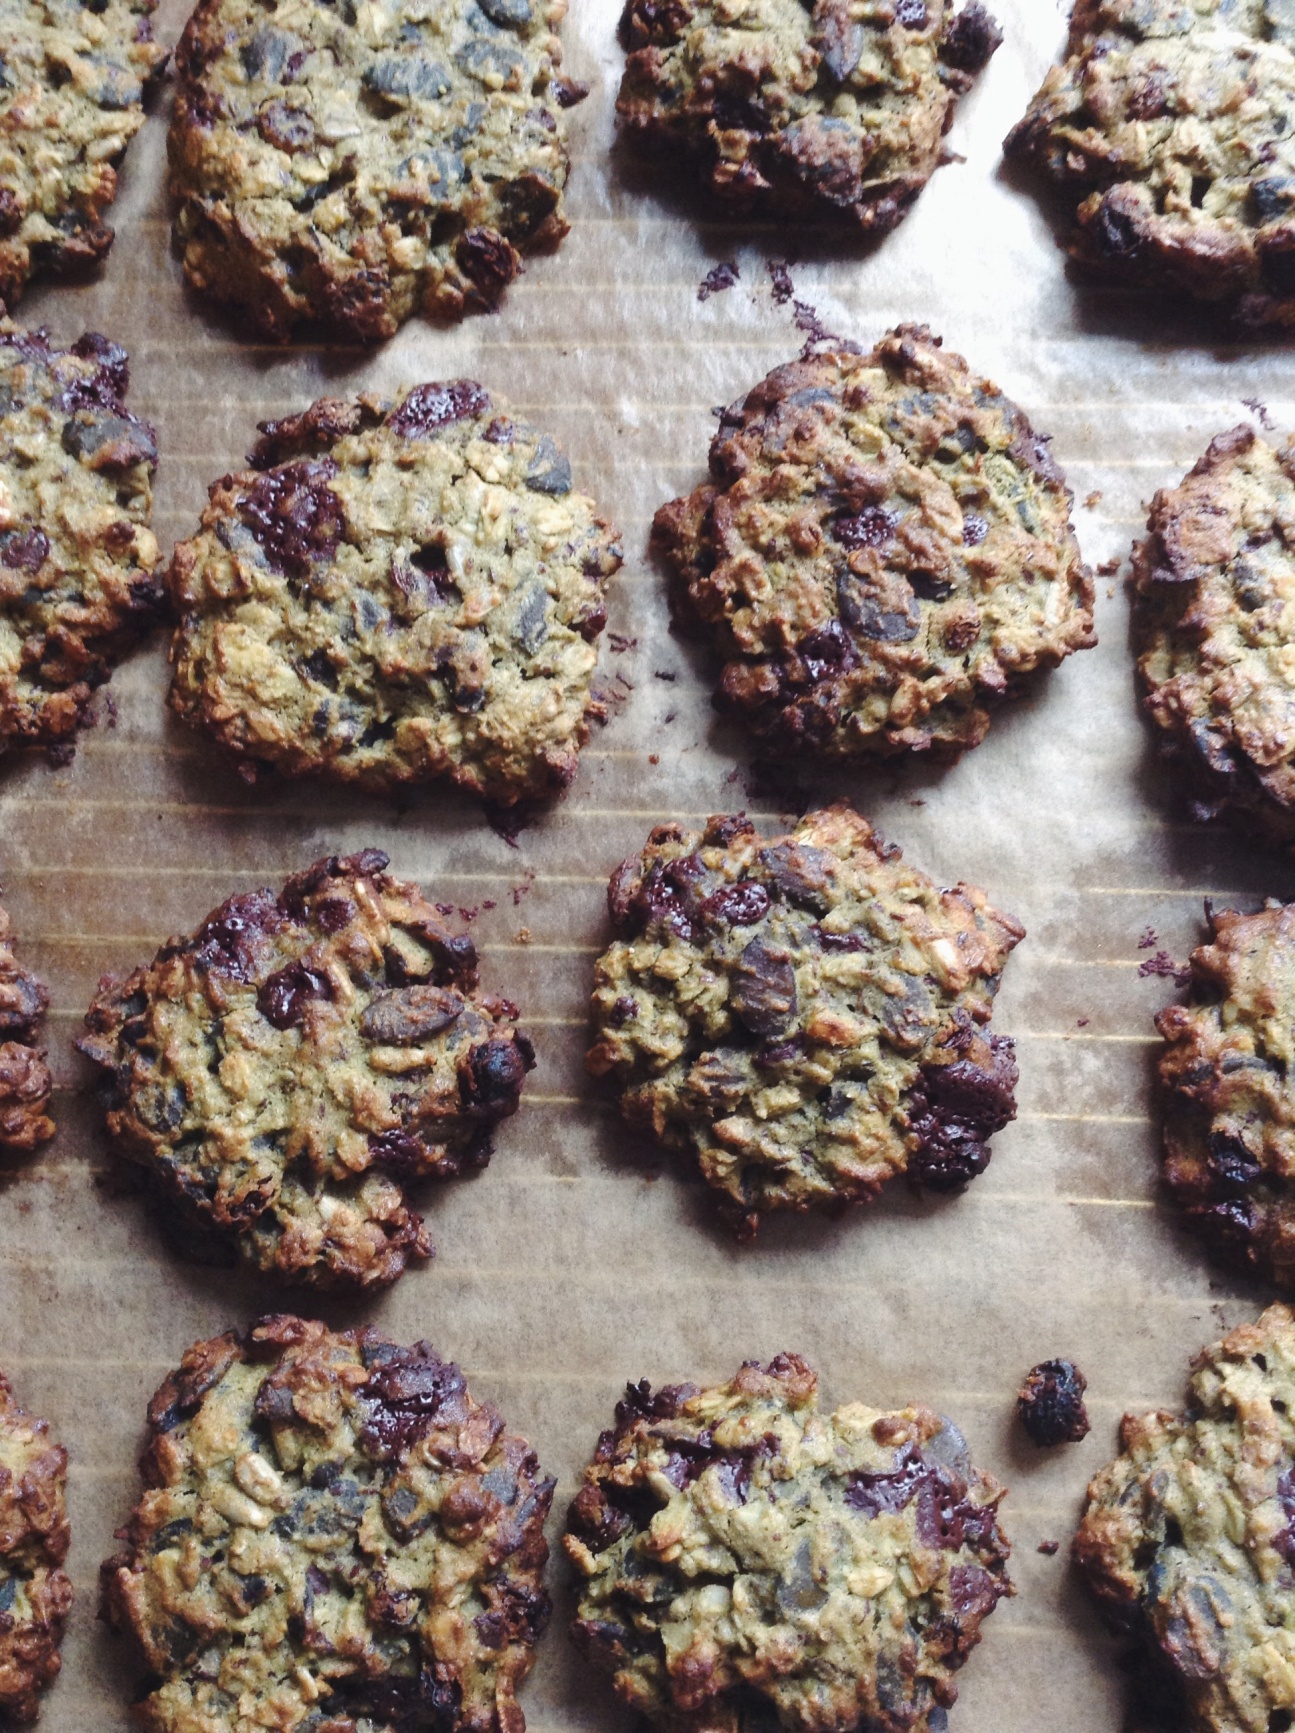
Before baking: 

image

image

After Baking: 

image

These cookies have a little bit of everything good; hearty pumpkin and sunflower seeds, superfood matcha, flax and/or chia seeds, crunchy walnut chunks, sweet and gooey raisins and slightly sweet, slightly bitter dark chocolate. You can’t stop after one.

They also freeze really well so to avoid eating the whole batch while they’re warm on the counter, I recommend leaving a few out to eat fresh and freezing the rest so that you can grab one when needed.

imageimage

And if you feel like getting creative, there are so many other things you could do with these!

  • Try using banana or pumpkin puree instead of applesauce
  • Instead of rolled oats try quinoa flakes, pops or cooked quinoa (Cecilia tried with half oats and half cooked quinoa and loved it!).
  • And change up the add-ins!
  • substitute the matcha for any other powder.. cocoa, carob, acai, espresso or regular coffee.

These cookies really are versatile and really fun to  play with! I hope you enjoy them as much as I do!!

imageimageimageimageimage


Matcha Power Cookies

Makes 18-20 large cookies


Dry ingredients

  • 1 1/3 cups four  (As noted above, this has been tested with many different flours. My orignal recipe was with 1/2 a cup chickpea flour, 1/2 cup buckwheat flour and 1/3 cup almond meal, but any single flour or flour mixture seems to work well!)
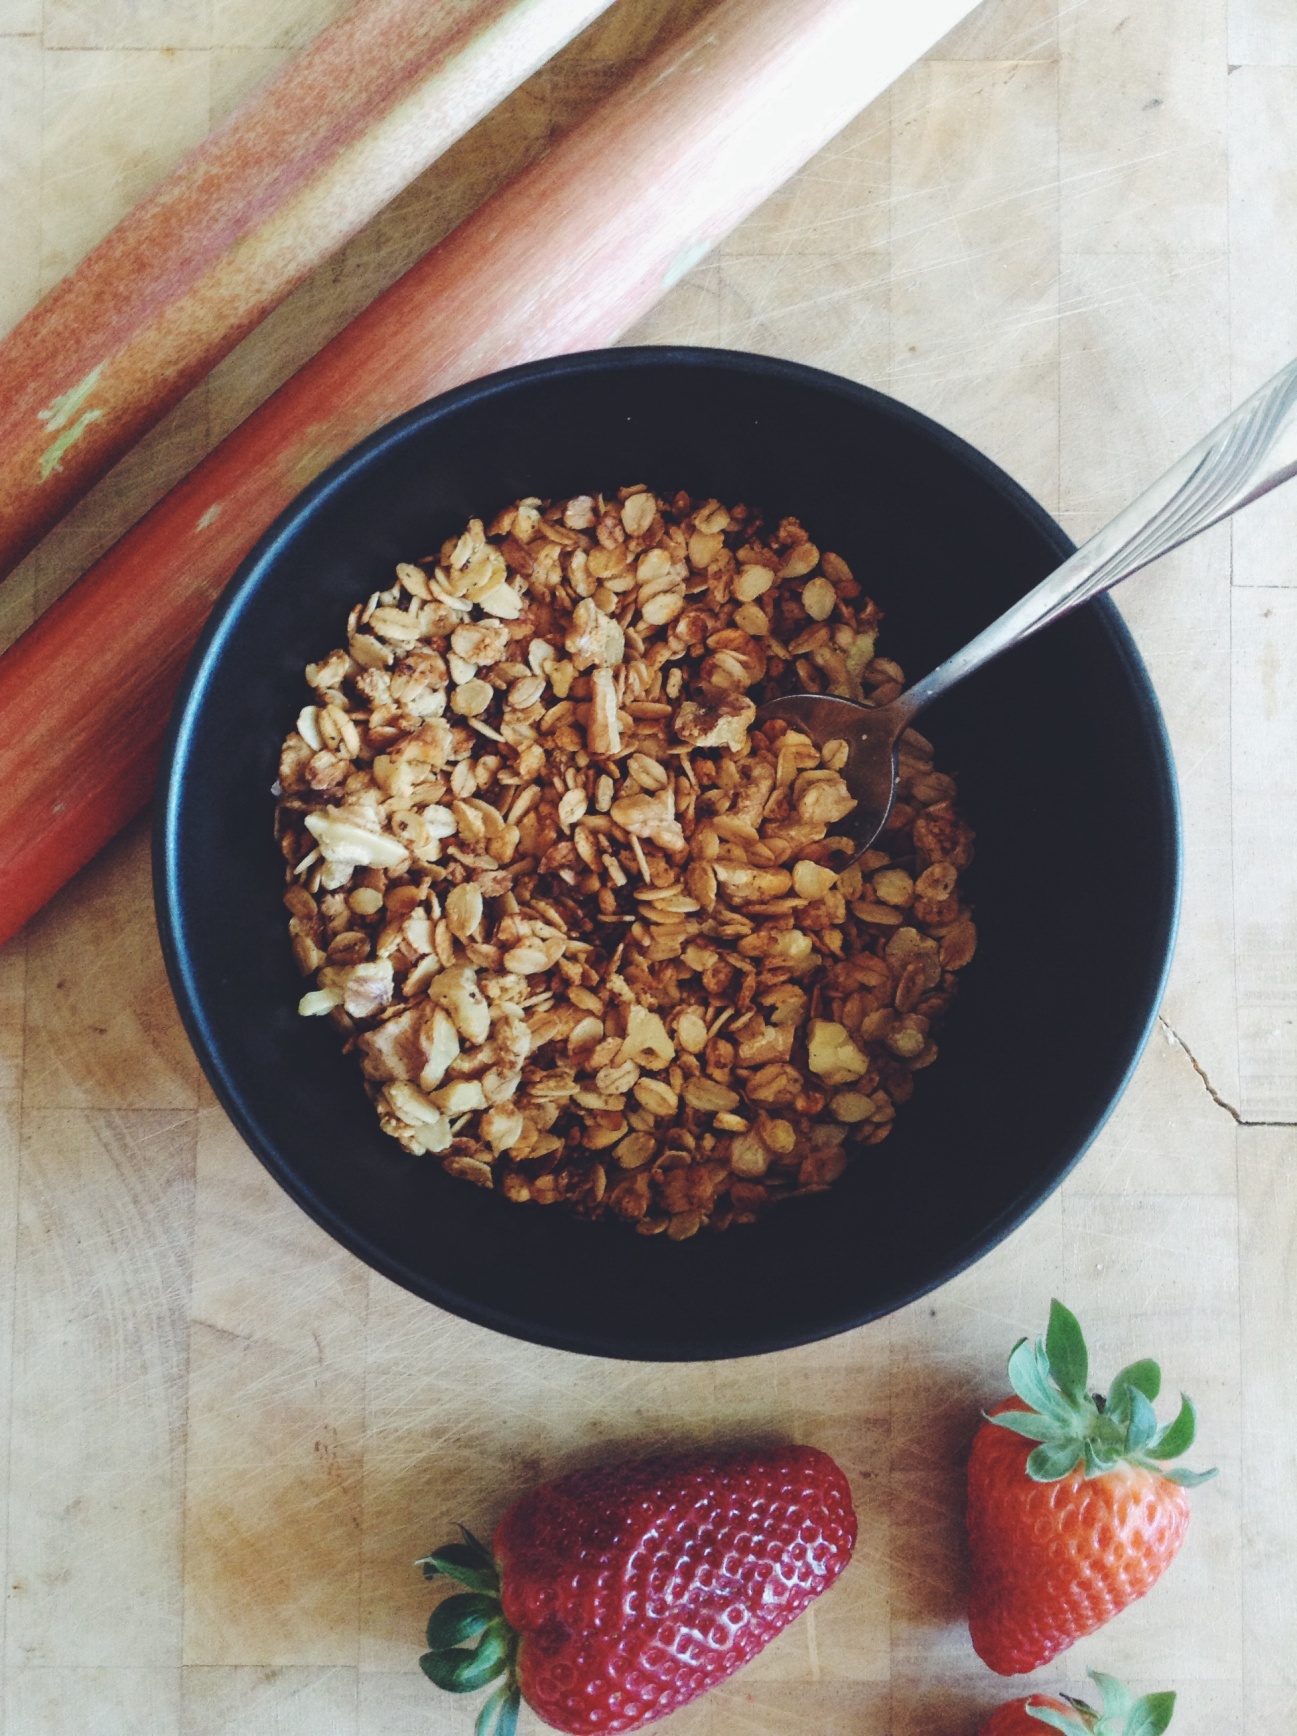
  • 1 cup rolled oats
  • 1 tsp cinnamon
  • 1 heaping tbsp matcha green tea
  • 1/2 tsp ground vanilla (liquid would also work but then add it to the wet ingredients)
  • pinch of salt
  • 2 1/4 cups of add-ins:
    • 1.5 cups pumpkin seeds
    • 1/4 cup raisins
    • 1/4 cup sunflower seeds
    • 1/4 cup dark chocolate chips/chunks (I used a naturally sweetened vegan chocolate bar and chopped it up)

Wet Ingredients

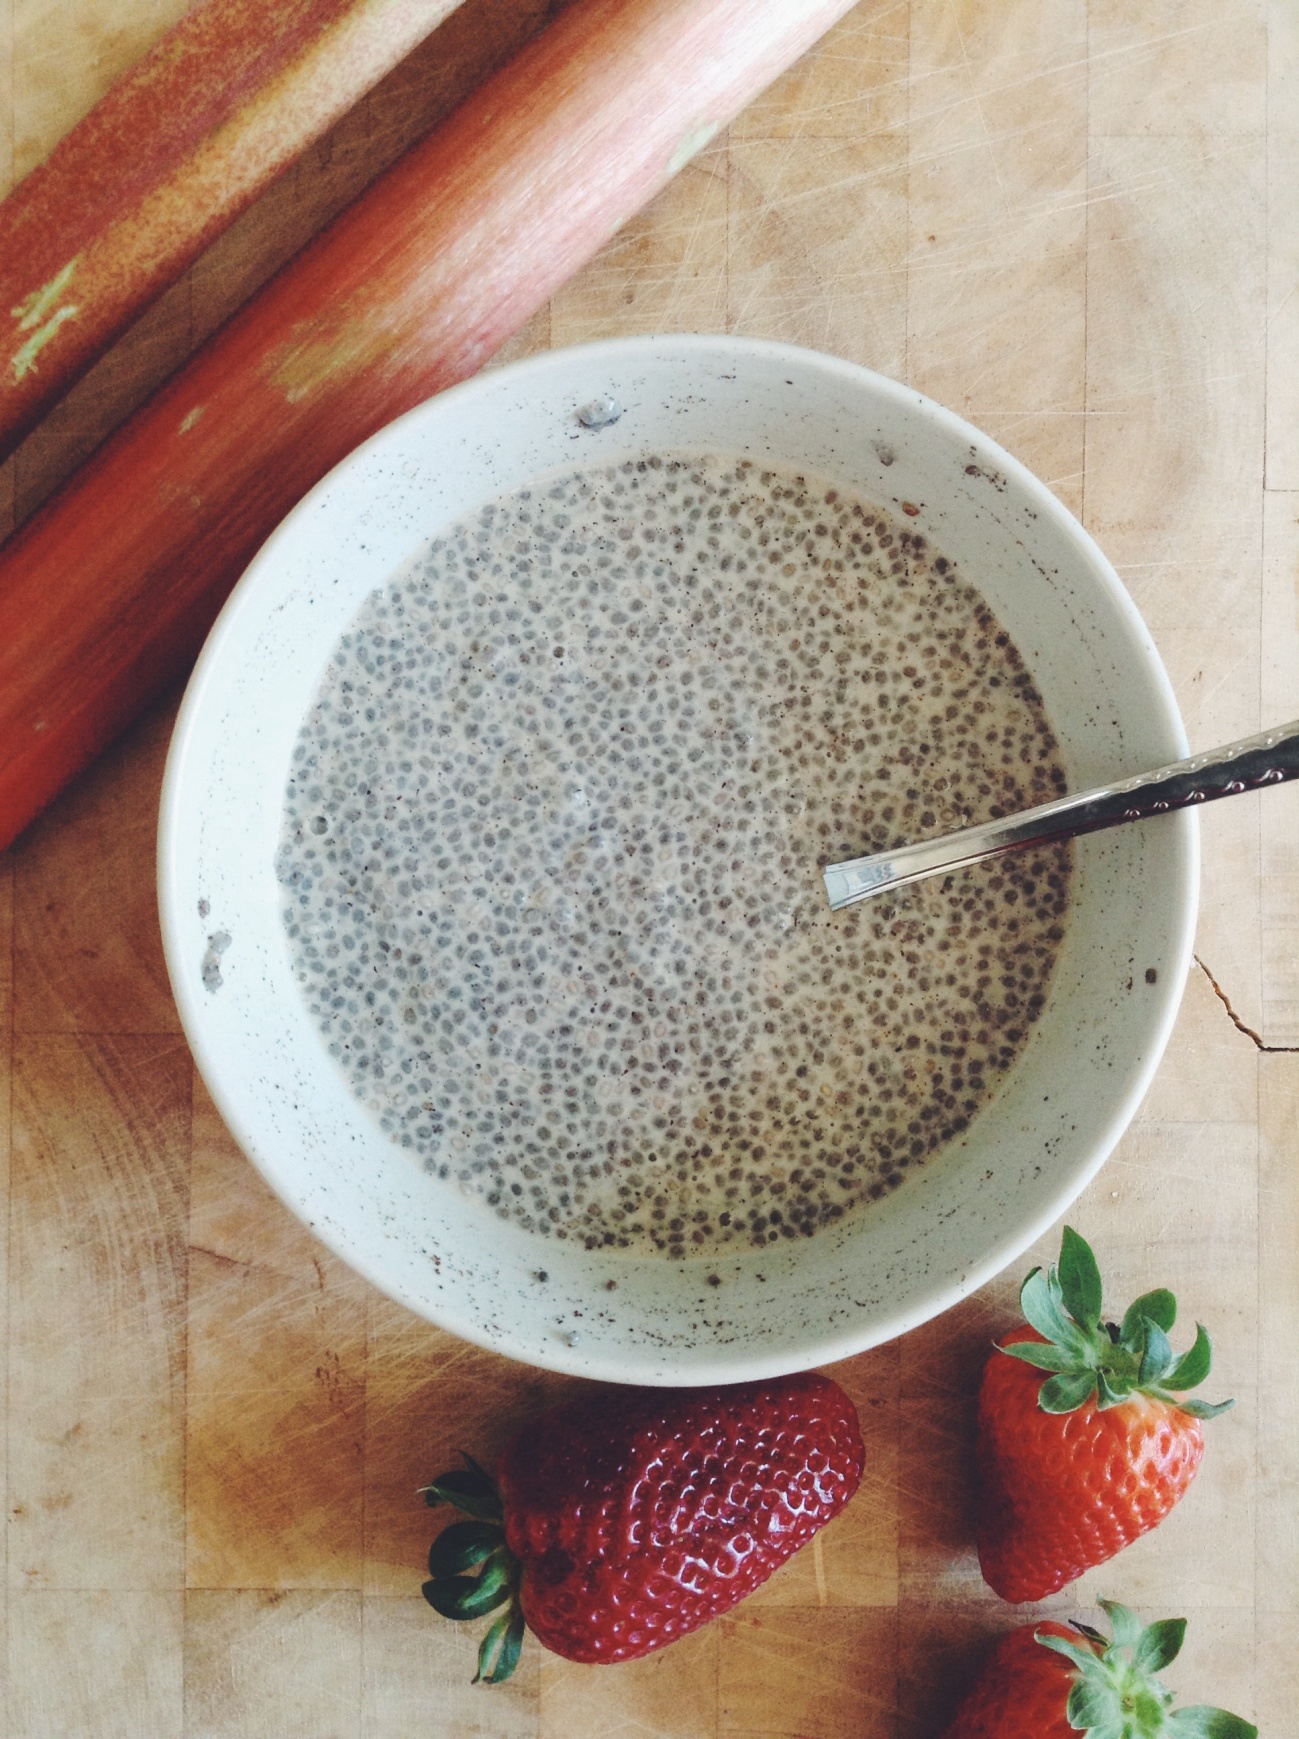
  • 1/4 cup flax seeds  + 3/4 cups water (or substitute chia seeds)
  • 1/3 cup coconut oil (doesn’t need to be melted)
  • 1/2 cup apple sauce
  • 3/4 cup maple syrup or other liquid sweetener
  • 1/4 cup almond milk

Directions

  1. Preheat oven to 375 F and line 1-2 baking sheets with parchment paper.
  2. Mix flax (or chia) and water in a small cup or bowl and set aside for ~5 minutes
  3. Mix all dry ingredients (except the add ins) in a large bowl. Once well mixed, stir in the add-ins
  4. In a mixer or blender, mix all wet ingredients including the flax+water mixture until well combined (~30 seconds)
  5. Pour the wet mixture into the dry and use a wooden spoon to combine everything. Stir well so there is no visible flour left! You should have a thick, chunky mixture.
  6. Place heaping spoonfuls of the dough onto your baking sheet and use a fork dipped in water to flatten the cookies and shape them a bit.
  7. Bake for 10-12 minutes, then let cool before eating.


Strawberry Rhubarb Chia Crumble Parfaits

image

These Strawberry Rhubarb Chia Crumble Parfaits are 4 layers of creamy, crunchy, smooth, sweet and tart goodness served up parfait style. Even with 4 layers they’re so easy that they practically make themselves. If you can cut, stir, and spoon each part into a cup then these are totally for you. Each layer is super simple to make and the result is a delicious mixture of spring infused flavours and textures.

This is the perfect dessert for all things spring! It’s light, refreshing, simple, gourmet looking, you can make it ahead of time, and it makes a perfect addition to spring picnics, potlucks, dinner parties, bbq’s or any other event!

image

The stars of this recipe are definitely the strawberry and rhubarb. Together they make a perfect combination of sweet and sour flavours that are complimented by creamy vanilla infused chia pudding, and sweet and crunchy granola for a crumble like texture.

imageimage

So how do you make them?? They’re so simple, and each layer holds really well in the fridge so you can make them a day ahead of time.

First you mix together the ingredients for the chia pudding. All you have to do is stir together some chia seeds, milk, and vanilla, put it in the fridge and after a couple hours it magically turns into a creamy tapioca like pudding.

image

Then you make the strawberry rhubarb compote. Just chop up the strawberries and rhubarb. Throw them into a pot with some water, vanilla and maple syrup and cook for 8-10 minutes.

image

While that’s cooking away just put the rest of your strawberries into a bowl with some lemon juice, vanilla and maple syrup and layer is 3 done.

image

And last but not least the granola.  All you have to do is stir together some oats, almond meal, walnuts and vanilla and toast it in a frying pan with coconut oil and maple syrup.

image

Then all that’s left is to assemble your parfaits!

image

Just spoon everything into a glass in whatever order and whatever proportions you desire. Then get a spoon and dig in.

Got leftovers?  The strawberry rhubarb compote keeps well in the fridge and makes a wonderful addition to muesli, oatmeal or as a pancake topping.

imageimageimageimage


Strawberry Rhubarb Chia Crumble Parfaits

serves 2-4 depending on the size of your cups


Chia Pudding Layer

  • 4 tbsp chia seeds
  • 1 cup non-dairy milk
  • 1 tsp maple syrup or other liquid sweetener
  • 1/4 tsp ground vanilla

Mix all ingredients in a small bowl and refrigerate for 3-4 hours or until it thickens to a tapioca like consistency.

Strawberry Rhubarb Compote Layer

  • 2 stalks of rhubarb sliced into thin pieces
  • 1/4 tsp ground vanilla
  • 2/3 cup water
  • 1/3 cup maple syrup
  • squeeze of fresh lemon juice (about 1/4 tsp)
  • 1 cup chopped strawberries

Put sliced rhubarb, vanilla, water, and maple syrup into a saucepan and bring to a boil over medium heat. Cook for ~8 minutes or until rhubarb is soft. Once the rhubarb is soft, mash it a bit with a fork so there are no big slices left. When you’ve reached your desired consistency, stir in the lemon juice and the strawberries and add more maple syrup to taste.

Strawberry Layer

  • 1 cup chopped strawberries
  • 1/2 tsp lemon juice
  • 1 tbsp maple syrup
  • 1 tsp ground vanilla

Mix all ingredients in a bowl and set aside

Granola Crumble Layer

  • 1/2 cup rolled oats
  • 1/4 cup almond meal
  • 1/4 cup chopped walnuts
  • 1/4 tsp ground vanilla
  • 1 tbsp coconut oil
  • 2 tbsp maple syrup

Melt the coconut oil in a large frying pan over medium heat. While it’s melting mix together the oats, almond meal, walnuts and vanilla. Once the oil is melted breifly take the frying pan off of the burner. Stir in the oat mixture until the oil is well incorporated. Then drizzle the maple syrup on top and mix around. Put back on the burner and toast until browned (8-10 minutes) stirring occasionally.


Bite Size Salted Caramel Chocolate Peanut Butter Cups

imageimage

These little bite-size chocolate peanut butter cups are to die for.

With just 6 ingredients and under 2o minutes of hands on prep work plus a little waiting around time while they freeze, these chocolate snacks are a perfect healthy Easter treat. They’re bite-sized, sweet, and decadent but much healthier than the traditional versions! The hard chocolate coating gives way to a creamy, caramelly, peanut-buttery centre that melts in your mouth.

image imageimage

The first step is to make a simple raw chocolate sauce. All you have to do is stir together some melted coconut oil with maple syrup and cocoa powder.  Then spoon some into your candy cups and freeze for 10 minutes.

image

Then, while the cups are freezing make the peanut butter filling. I call it salted caramel peanut butter because adding a little maple syrup to peanut butter and stirring in some milk and vanilla transforms it into a sticky and delicious spread with the taste and consistency of caramel.

image

Once the chocolate has set, just spoon the peanut butter mixture into your cups and top with extra chocolate. Freeze for half an hour and then they’re ready to eat!

imageimage

imageimageimageimageimage


Bite Sized Salted Caramel Chocolate Peanut Butter Cups

Makes 15 cups


Chocolate Coating

  • 3 tbsp melted coconut oil
  • 1 tbsp agave or maple syrup
  • 12 tbsp cocoa powder

Peanut Butter Filling

  • 3 tbsp smooth peanut butter
  • 1.5 tbsp maple syrup
  • 1.5 tbsp almond milk or other milk
  • 1/4 tsp ground vanilla powder (or liquid vanilla)
  • a pinch of salt if your peanut butter is unsalted
  1. In a small glass, mix the ingredients for the chocolate coating and stir well.
  2. Use a small spoon to line 15 little candy cups (looks like a muffin liner but the size of what a chocolate truffle would come in) with chocolate sauce. Just spoon a little bit into the bottom so that it is covered and then use the back of the spoon to go up the sides and coat them to the top. You should have chocolate sauce left over.
  3. Put the chocolate coated candy cups on a plate and place them in the freezer for about 15-20 minutes or until hardened
  4. While the chocolate is freezing, make the peanut butter sauce:  In a small bowl or mug mix all the ingredients until well combined and it has a consistency like caramel (see photos).
  5. Spoon the peanut butter filling into each cup so that each one is about 3/4 full
  6. Spoon the rest of the chocolate on top of the peanut butter and freeze for 30 minutes to set and harden

Stracciatella Ice Cream Cheesecake Squares

image

Stracciatella Ice Cream Cheesecake Squares – a thin, raw gooey brownie base topped with a creamy concoction of cashews, lime juice, coconut milk and maple syrup, a generous stir in of chocolate chips and a melted drizzle of warm chocolate sauce. These little squares taste amazing!

They have a texture similar to ice cream and a taste like Italian stracciatella ….i.e.. Vanilla ice cream with chocolate chips and  melted chocolate sauce swirled in to create ribbon of crunchy chocolate throughout.

imageimageimage

What do they taste like? Kind of like an ice cream sandwich but instead of plain vanilla ice cream you’ve got chocolate chip. They are perfectly sweet, chocolatey, chewy, and creamy…

And they’re so easy to make!!! In no time at all you’ll have these whipped up and ready to dig into.

imageimageTo make these you only need 1 pan, 1 mixer bowl, a spoon and 11 ingredients. Simply mix the ingredients for the brownie and press them into the bottom of a pan. Then mix the ingredients for the Stracciatella, stir in the chocolate chips and pour it over top. Put it in the freezer for half an hour to set and then they’re ready to eat.

imageimageimageimageimageimageimage


Stracciatella Ice Cream Cheesecake Squares

Makes 1 9″ pan (~ 16 squares)


Brownie Base

  • 1/2 cup rolled oats
  • 1/2 cup cashews
  • 1 cup (~16) soft dates, chopped into small pieces
  • 1/8 cup cacao
  • 1 tbsp melted coconut oil
  • pinch of salt

Stracciatella Filling

  • 1 cup cashews (soaked for an hour or more in boiling water)
  • juice from 1/2 a lime (or lemon would also work)
  • 2 tbsp melted coconut oil
  • 1/3 cup coconut cream (I use the thick cream that forms on top of a can of coconut cream or milk. You could also use regular coconut milk but it won’t be as creamy)
  • 1/3 cup maple syrup + more to taste
  • 1 tsp ground vanilla (or liquid)
  • ~1/2 cup chopped dark chocolate chunks (I used a naturally sweetened dark chocolate bar but chocolate chips or any other chopped chocolate bar would also work)

Chocolate Swirl 

  • 2 tbsp melted coconut oil
  • 1/4 cup cacao
  • 1 tbsp agave or maple syrup
  1. Line a 9″ pan with parchment paper
  2. In a mixer, mix oats until they are ground and have a flour like consistency. Next, add cashews and mix until they are well ground. Add all other ingredients for the brownie base and mix until you have a thick sticky mixture and everything is well combined. It’s ok if there are still some chunks in it. As long as it’s sticky enough to hold together!
  3. Press the brownie mixture into the pan. Dip a large spoon into a glass of hot water and then use the back of the spoon to spread the brownie mixture around the pan evenly. Once it starts to stick to the spoon, then dip it in water again. This step can take a few minutes since the mixture is pretty sticky and thick.
  4. Rinse the mixer bowl and then mix all ingredients for the stracciatella filling (except the chocolate chunks/chips)
  5. Now is the time to taste it and add more maple syrup if you’d like it a bit sweeter
  6. Stir in the chocolate chunks
  7. Pour 1/2 the mixture over top of the brownie base and spread it around evenly
  8. To make the chocolate swirl, stir the 3 ingredients together in a small cup or bowl. When it’s well mixed, drizzle it over the 1/2 stracciatella mixture in the pan
  9. Pour the other 1/2 of the stracciatella on top.
  10. Top with extra chocolate chips/chunks and some shaved chocolate if desired
  11. Store in the freezer! It should be set and ready to have the first piece after ~30 minutes.


Double-Decker Carrot Cake with Vanilla Cashew Cream Frosting {vegan, gluten free and naturally sweetened}

image

This is definitely my new favourite carrot cake recipe and probably my new favourite cake recipe in general. This double decker carrot cake is so so good. It smells and tastes amazing, and the texture is spot on.  It’s so close to the traditional version but I think I like it even better. What’s the difference? Lose the butter, white flour, refined sugar, eggs, and cream cheese found in a traditional carrot cake and replace them with whole ingredients.  It’s just as simple and delicious but so much healthier!

imageimage

This cake is vegan, gluten free and naturally sweetened with maple syrup but the taste isn’t compromised at all!  You would never know that it’s actually really healthy! So what ‘s it like?

The taste – Delicious layers of hearty and slightly sweet carrots swirled together with rich maple-y sweetness and warm cinnamon and ginger spices. All covered in a sweet, vanilla cashew cream frosting…with a layer in the middle as well!

The texture – Sometimes with gluten free baking the results can be pretty dry, but this cake is so moist and dense with a thick, creamy cashew frosting in the middle and over the top. And it holds together perfectly

The Method – The hardest and most time consuming part is shredding the carrots. But other than that it’s pretty simple, straight forward and quick!

image imageThis cake is really nutritionally dense, so a little piece goes a long way. Each slice contains veggies, fruit, protein, fiber and healthy fats!

imageimageimageimageimageimageimage


Double-Decker Carrot Cake with Vanilla Cashew Cream Frosting

Vegan, gluten free, and naturally sweetened

Makes 1 standard size cake


  • 1 cup buckwheat flour
  • 1 cup rolled oats (ground into flour – just mix the oats in the food processor until the texture resembles flour)
  • 1/4 cup chickpea flour
  • 1/4 cup almond meal
  • 1 tbsp cinnamon
  • pinch of nutmeg
  • pinch of ground ginger
  • 1 1/4 tsp baking powder
  • 1 1/4 tsp baking soda
  • pinch of salt
  • 8 medium-large carrots (peeled and ends cut of) (~490 g)
  • 1 cup maple syrup + 2-3 tbsp more to taste
  • 1/4 cup flax meal + 1/2 cup water
  • 5 soft dates, chopped into small pieces
  • 1/2 cup apple sauce
  • 1/4 cup melted coconut oil

Vanilla Cashew Cream Frosting

  • 2 cups cashews, soaked for at least 2 hours
  • juice of half a large lemon
  • 1/2 cup water
  • 1/4 cup agave or maple syrup + more to taste
  • 3 tbsp melted coconut oil
  • 1 tsp ground vanilla

To decorate

  • 1 cup roughly chopped walnuts to stick around the outside of the cake
  • marzipan carrots (optional)
  1. Preheat oven to 350 F
  2. Grease two 9″ round cake pans with butter or coconut oil and dust with flour so that the inside of the pan is all covered. This makes it much easier to get the cakes out after baking.
  3. Mix flax and water. Set aside and let sit for at least 5 minutes
  4. Shred the carrots and set aside
  5. Mix buckwheat flour, oat flour, chickpea flour, almond meal, baking powder, baking soda, cinnamon, nutmeg, ginger and salt in a large bowl until they are well mixed.
  6. Add the shredded carrots to the bowl with the flour and spices and use a spatula or spoon to mix everything together
  7. In a mixer, mix maple syrup, flax + water mixture, dates, apple sauce and coconut oil.
  8. Pour the wet mixture into the bowl with the carrots and flour. Stir until everything is well combined. At this point you can try it and add more sweetener to taste.
  9. Split the batter between  the two cake pans and bake for ~45 minutes or until a toothpick stuck into the centre comes out clean.
  10. While the cakes are cooling, mix all frosting ingredients in a food processor. Add more sweetener to taste
  11. Once cakes are thoroughly cooled, ice one, then stack the other cake on top and ice it as well.
  12. Press the chopped walnuts around the side of the cake and top with extra blobs of icing and marzipan carrots